 how-to
3 DIY Elevated Dog Bowl Stand Tutorials to Build
Last Updated: October 27, 2026
Quick Summary
You can build a DIY elevated dog bowl stand by choosing one of three tutorials: a basic two-bowl riser for beginners, a wooden stand from plans for intermediate builders, or a storage box feeder for large dogs and multi-dog homes. Start by measuring your dog's lower chest height, since the bowl rim should sit roughly level with that point.
- Small dogs under 20 pounds need a stand about 4 to 6 inches tall.
- Leave at least 2 inches around each bowl and make the base at least as wide as the top.
- A DIY elevated dog feeder for large dogs needs at least 4 inches of overhang beyond the bowl openings.
- Seal the stand with a pet-safe finish and let it cure fully to prevent warping.
- The storage box feeder takes 3 to 4 hours and suits large dogs and multi-dog homes.
Table of Contents
- DIY Elevated Dog Bowl Stand Tutorials: Pick Your Build
- Raised Dog Bowl Stand Dimensions and Wooden Dog Bowl Stand Plans
- DIY Dog Bowl Holder With Storage and Elevated Feeder for Large Dogs
- Frequently Asked Questions
DIY Elevated Dog Bowl Stand Tutorials: Pick Your Build
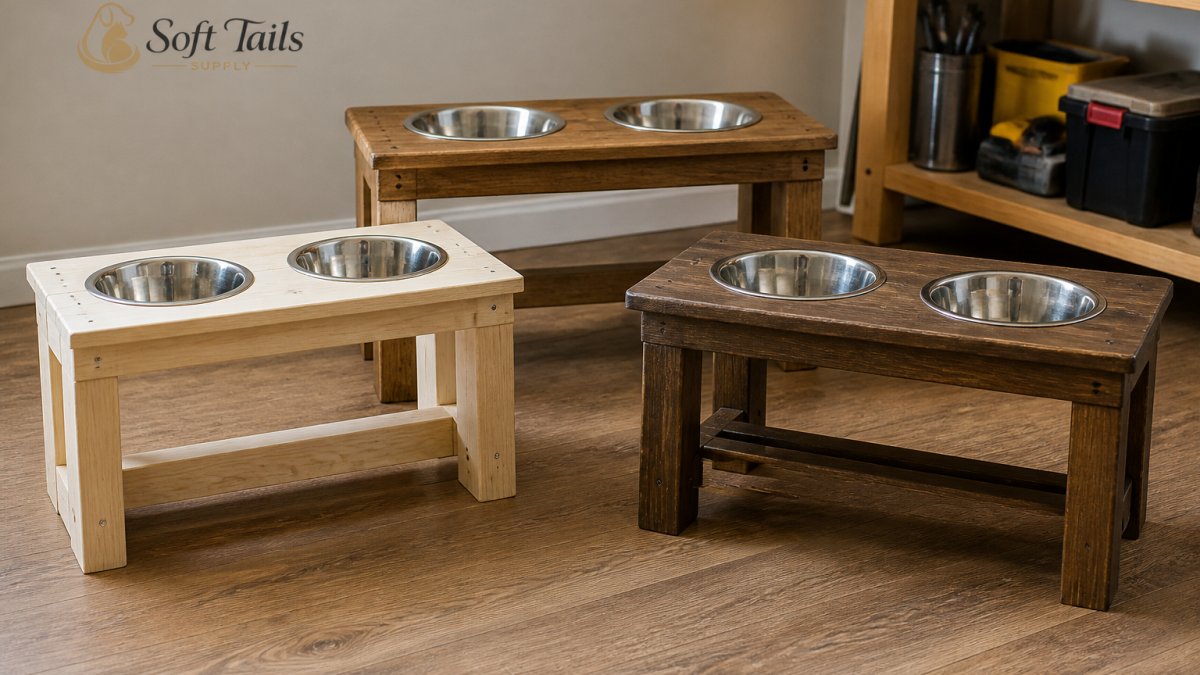
Building a DIY elevated dog bowl stand is a straightforward weekend project. Pick by your dog's size and skill level, not by which photo looks nicest.
| Build | Skill Level | Best For | Time Estimate |
|---|---|---|---|
| Basic two-bowl riser | Beginner | Small to medium dogs | About 1 hour |
| Wooden stand from plans | Intermediate | Medium to large dogs | 2-3 hours |
| Storage box feeder | Intermediate | Large dogs, multi-dog homes | 3-4 hours |
Before you cut anything, read our guide to elevated pet bowls for digestion. A common mistake is building the stand before measuring the dog.
Raised Dog Bowl Stand Dimensions and Wooden Dog Bowl Stand Plans
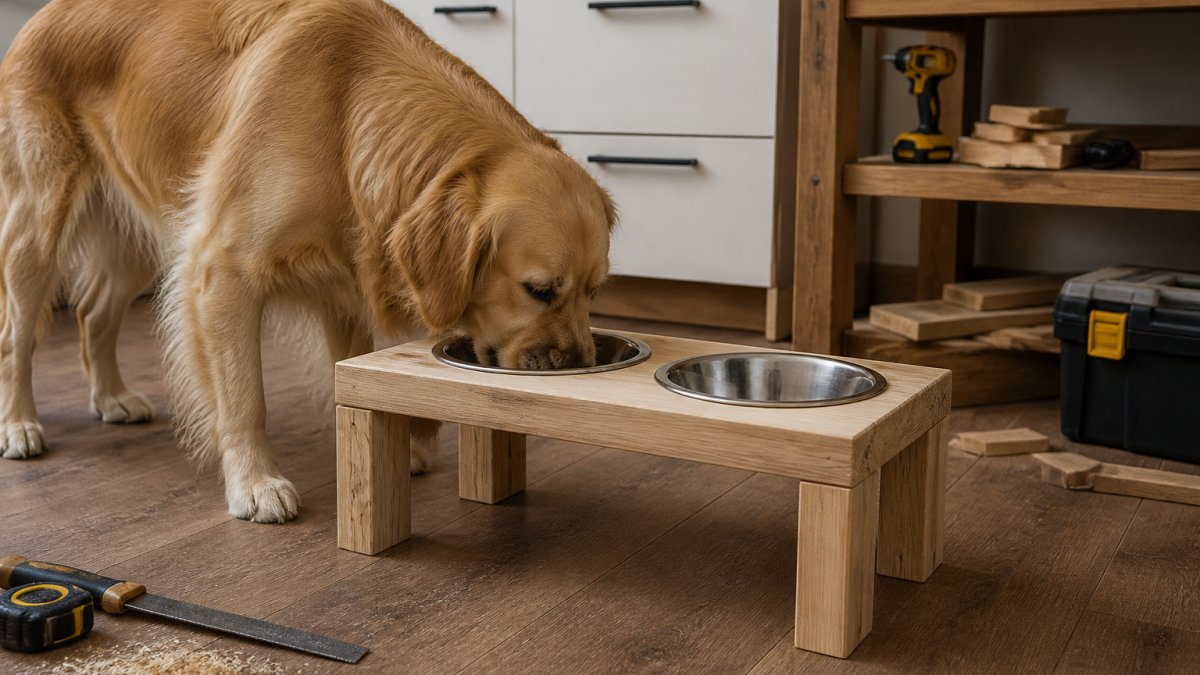
Raised dog bowl stand dimensions start with the height of your dog's lower chest, measured while the dog stands squarely; the bowl rim should sit roughly level with that point. Small dogs under 20 pounds need about 4 to 6 inches, medium dogs 6 to 10, large dogs 10 to 14, and giant breeds 14 to 18.
Leave at least 2 inches around each bowl, trace a standard stainless bowl for the cutout, and set bowls in place before fastening the top board. Wooden dog bowl stand plans should include a base at least as wide as the top, a narrow base is the number one reason these stands tip. Seal it with a pet-safe finish and let it cure fully, or water soaks in and the stand warps within months. If your dog eats fast, pair the finished stand with a slow feeder pet bowl.

DIY Dog Bowl Holder With Storage and Elevated Feeder for Large Dogs
A DIY dog bowl holder with storage adds a hinged lid and an interior compartment for food, treats, or a scoop, and for large dogs the cavity adds weight low down for a sturdier base. Cut the sides, base, and lid to your measured height plus 2 inches, assemble with glue and screws, cut bowl openings 2 inches wider than each bowl, add a hinge and latch, then sand and seal.
A DIY elevated dog feeder for large dogs needs at least 4 inches of overhang on each side beyond the bowl openings, since big dogs lean into the bowl. For older large dogs, see our articles on whether senior dogs with mobility issues can use ramps and traction aids for senior dogs on hardwood floors. What most guides miss is cleanup: a hinged lid keeps kibble out of reach between meals, which matters in multi-pet homes.
Frequently Asked Questions
What height should an elevated dog bowl stand be?
Measure from the floor to the dog's lower chest, just below the shoulder, and aim for the bowl rim to sit at that height. For most medium dogs this lands around 10 to 12 inches; large dogs often need 14 to 18 inches. Build the stand so the bowl top, not the platform, reaches that mark, then test it with your dog before finishing the wood.
How do you keep bowls from sliding in a homemade dog feeder?
Cut the bowl holes 1/8 to 1/4 inch smaller than the bowl's widest rim so the bowl drops in and rests on its lip. Add a bead of silicone or a rubber O-ring around each hole for grip, and attach rubber feet to the stand's base so the whole unit stays put on tile or hardwood. A recessed hole beats a flat surface every time.
What materials are safe for a DIY dog bowl stand?
Use untreated pine, cedar, or birch plywood and finish it with a pet-safe sealant such as a water-based polyurethane or food-grade mineral oil once fully cured. Avoid pressure-treated lumber, which can leach chemicals, and skip paint on any surface the dog's tongue can reach. Stainless steel bowls are the easiest to clean and least likely to hold bacteria.
Your dog deserves a mealtime setup that fits their body, not one they have to work around. SofttailSupply carries practical feeding gear, including slow feeder bowls designed to calm fast eaters, plus fast 24-48 hour shipping and responsive support if something arrives damaged. Get started with SofttailSupply and build a stand your dog can actually eat from comfortably.